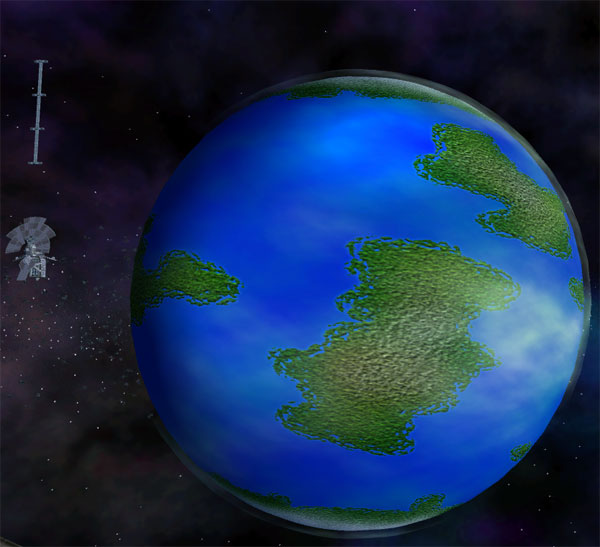
Pretty Planet Project
I have also included a finished CMP/SUR, so that you can take the SUR and resize it with FLModel Tool and make your planets any size you want to.
For those of you who're unfamiliar with the texturemapping techniques used to skin these spheres, please read my Tutorial, "How to Skin", which talks about uv-mapping and the DDS texture format.
There are a few things that are very different about DemoPlanet that weren't included in my Tutorial, however.
Firstly, the "atmosphere" is a Glass Material, but it uses a different texturemap than the planet's surface. The reason it does so is because we need to have alpha-channel transparency, and the DDS format, while it does a fine job with very simple 8-bit transparency, doesn't support the 16-bit alpha channels that we need for fine cloud details. So we're forced to use my least favorite format- 32-bit TGA. It's the only format supported by the FL engine that gives us what we need in order to present convincingly detailed high-resolution clouds. If you can live without clouds, or simulate them in the DTX1 DDS texture without the results looking terrible, I heartily recommend doing without, but if you want really nice, soft clouds, you have to put up with the huge filesize this entails.
Secondly, examination of the sample CMP included with this Tutorial material will show you several things. The most important is that the "Glass" texture, used for the "cloud layer" is a special Type. The Type is DcDtOcOtTwo . The "Two" is the most important part- it tells the FL engine to draw these polygons as if they were two-sided, instead of ignoring the "inside" face, like it normally would. This effectively doubles the polycount of the object, because every polygon gets drawn twice, before being printed to the frame buffer, so we don't want to use this where it's not necessary... here it's necessary.
Note that the main Material does not need to have this option- all of the "planetary surface" polygons are facing "out" or "back", and shouldn't be drawn by the renderer. This is a process called "culling", which is done by most game engines to speed up the processing of 3D geometry so that it can draw quite a bit faster, and after making it draw a big 32-bit TGA on over 1800 polygons we'd better make it go as efficiently as possible on the planet's surface
The Photoshop file included has the main layers you'd need to do a simple texturemap for a planet with continents and an ocean. Non-Earthlike worlds are actually much easier, because you can use the Offset feature in Photoshop to get rid of unsightly seams fairly easily, and most non-Earthlike worlds are going to be predominantly different flavors of line + noise and various effects.
Please feel free to ask questions if you're having trouble figuring out how to use these files to make your own custom Planets, but read my Tutorial about skinning before proceeding- it will give you a good background on the techniques being used here. Basically though... all you need to do is make a pair of square textures- one a DXT1 DDS, and the other a 32-bit TGA with an alpha channel, and import them in the Milkshape template file, name everything with a unique name, export the CMP, edit the Glass Material node with UTF Edit so that it matches the example CMP's entries (except for the Dt_name, and Ot_name, which should have the same name as the "WhateverTheGlassIsCalled.tga" entry which you will have to put into the CMP and import the alpha-channel texture. It all sounds fairly complicated, but it's not, I can assure you
Edited by - Argh on 9/4/2005 10:48:17 PM


